12 Steps to Do the Half Moon Manicure

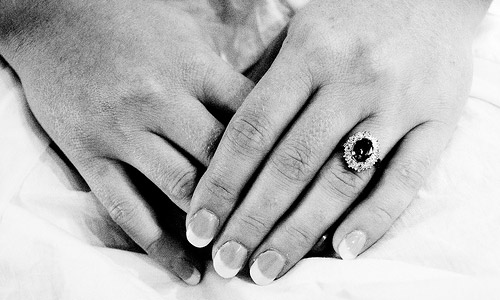
Moon is always considered synonymous with romance and beauty. So when it comes down to your beautiful hands, then adding that moon-like look to your dainty fingers makes them look all the more beautiful and stylish. Half moon manicures were quite a craze in Hollywood in 1920s. They persisted for another two decades with stars showcasing their beautiful half moon manicured hands in style. Even today this look is popular and very much in style. So here are some tips to do the half moon manicure.
1. Use a nail filer to give a rounded oval shape to your nails which goes best with half moon manicure.
2. Remove old nail polish or any remnant of that with a good quality nail polish remover.
3. Wash and dry your hands thoroughly so that there is no oil sticking to your nails as this interferes with a good nail polish coat.
4. Decide the style. When the craze for half moon manicure started, it was done in a style where the half moons of the nails were left bare and the rest of the nail was painted with a bold color. Now another creative variation is to use two colors, one as the main color for the nail and the other for the half moon. For a different look, metallic colors like silver are used for half moons.
5. Decide the nail polish colors. Bold color goes best for this look. If you are using two colors, then choose bold color as the main color and a subtler color for the half moons to give a nice contrast.
6. Use a good quality sticky base coat and apply one coating to your nails. This ensures a smooth nail polish coating.


